
22 Apr 2025
Post by Dakota
Introduction
When it comes to the safety of your child, knowing how to properly set up a car seat base is paramount. Proper installation ensures that the car seat functions as intended, providing the necessary protection for your little one during any travel. This guide will lead you through the essential steps to set up a car seat base correctly using easy-to-follow instructions. Whether you are a new parent or just need a refresher, these steps will help ensure your child’s safety on the road.
Why Proper Car Seat Base Installation is Crucial
A car seat base that is incorrectly installed can diminish the effectiveness of the car seat’s safety features. Proper installation is crucial because it minimizes the movement of the car seat in the event of an accident, providing the stability needed to protect your child. This stability helps distribute the forces of a crash across the car seat structure and the car seat base, rather than impacting your child directly. Therefore, it is essential to understand and follow the correct procedure to ensure every journey your child takes is a safe one.
Preparing for Installation
Before diving into the installation process, a few preparatory steps are necessary for a seamless experience.
Understanding Your Car and Car Seat Compatibility
The first step is to ensure that the car seat base you have is compatible with your car model. Most manufacturers provide a compatibility chart that lists out which car seats are suitable for which vehicles. Refer to this chart to avoid any compatibility issues.
Gathering the Right Tools and Materials
Gathering all the necessary tools and materials beforehand can save time. Typically, you will need the car seat base, the car’s manual, and the car seat manual. Some installations may require additional tools such as locking clips, so it’s best to have these items ready.
Reading the Car Seat Manual
Thoroughly read through the car seat manual. This manual provides detailed instructions specific to the car seat model and often contains important safety warnings and tips. Understanding these directions will make the installation process much smoother and safer.
Installation Methods for Car Seat Bases
Choosing the correct installation method is crucial as it affects the stability and security of the car seat base.
LATCH System vs. Seat Belt Installation
There are generally two methods of installing a car seat base: using the LATCH (Lower Anchors and Tethers for Children) system or the car’s seat belt. Both methods have their advantages and provide a secure installation when done correctly.
- LATCH System: This method uses built-in anchors and tethers in your vehicle, providing a secure connection point for the car seat. It is designed to make car seat installation easier without the need for a seat belt.
- Seat Belt Installation: This traditional method uses the vehicle’s seat belt to secure the car seat base. It’s just as safe but might be a bit more complex in terms of installation.
Choosing the Best Installation Method for Your Vehicle
Consider your car’s age and model before deciding on the method. The LATCH system is commonly found in newer vehicles (post-2002), but not all cars will have it. If your car does not have the LATCH system, or if you are using different seating positions in the vehicle, the seat belt installation method is a reliable alternative.
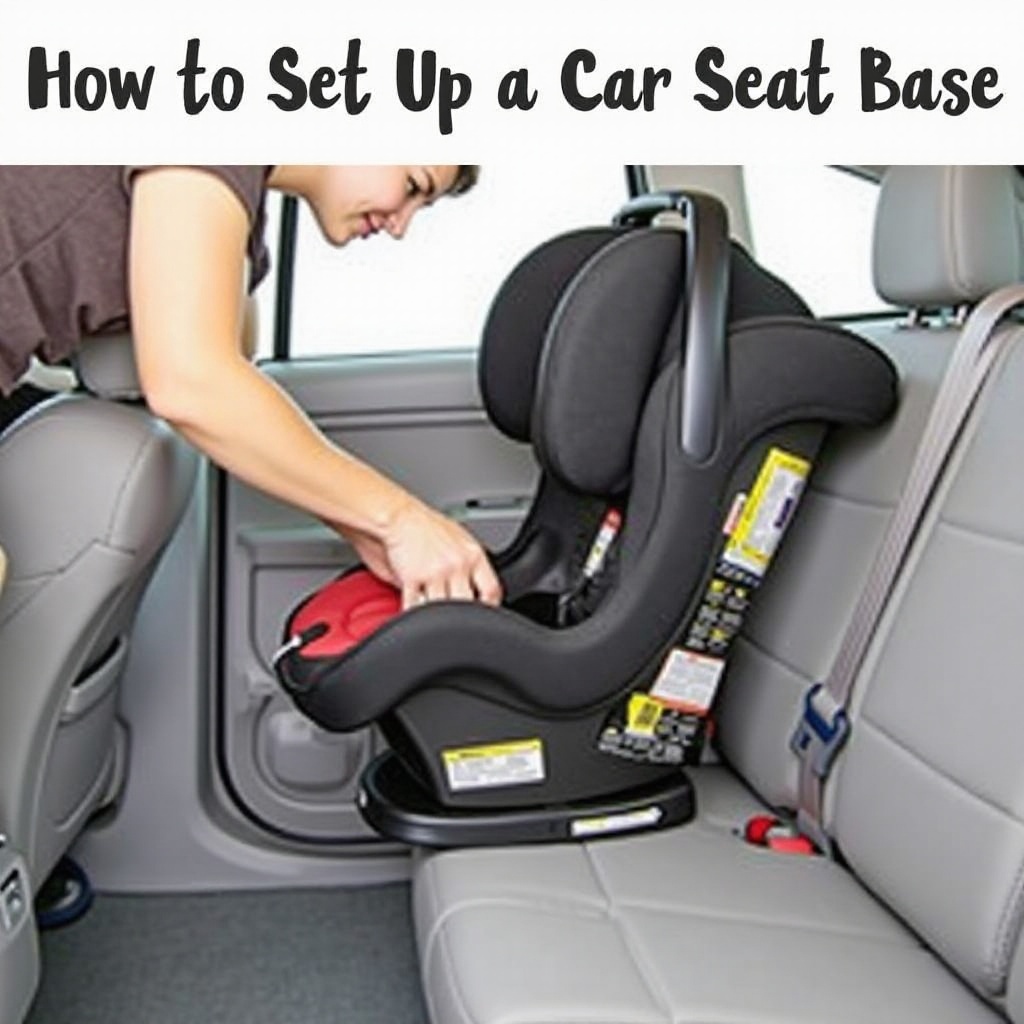
Step-by-Step Installation Guide
With all preparations in place, you are now ready to begin the installation process. Follow these steps to ensure a secure and correct setup.
Positioning the Car Seat Base
- Choose the Appropriate Seat Position: Typically, the rear center seat is recommended for the car seat base as it is the safest spot.
- Place the Base: Position the car seat base on the vehicle’s seat. Ensure it is flat and does not move excessively (more than an inch).
Installing Using the LATCH System
- Locate the LATCH Anchors: These are usually found in the seat bight (the crease between the back and bottom cushions of the car seat).
- Attach the LATCH Connectors: Hook the LATCH connectors from the car seat base to the car’s anchors. You should hear a click confirming it is securely attached.
- Tighten the Straps: Pull the straps tightly to remove any slack. The base should not move more than one inch side-to-side or front-to-back.
Installing Using the Seat Belt System
- Thread the Seat Belt: Refer to the car seat base manual to thread the seat belt through the designated path on the base.
- Buckle the Seat Belt: Click the seat belt into the buckle.
- Lock the Seat Belt: In some vehicles, you may need to engage a locking mechanism to prevent the seat belt from loosening.
- Tighten the Belt: Push down on the car seat base while tightening the seat belt. Ensure minimal movement when you try to shift the base.
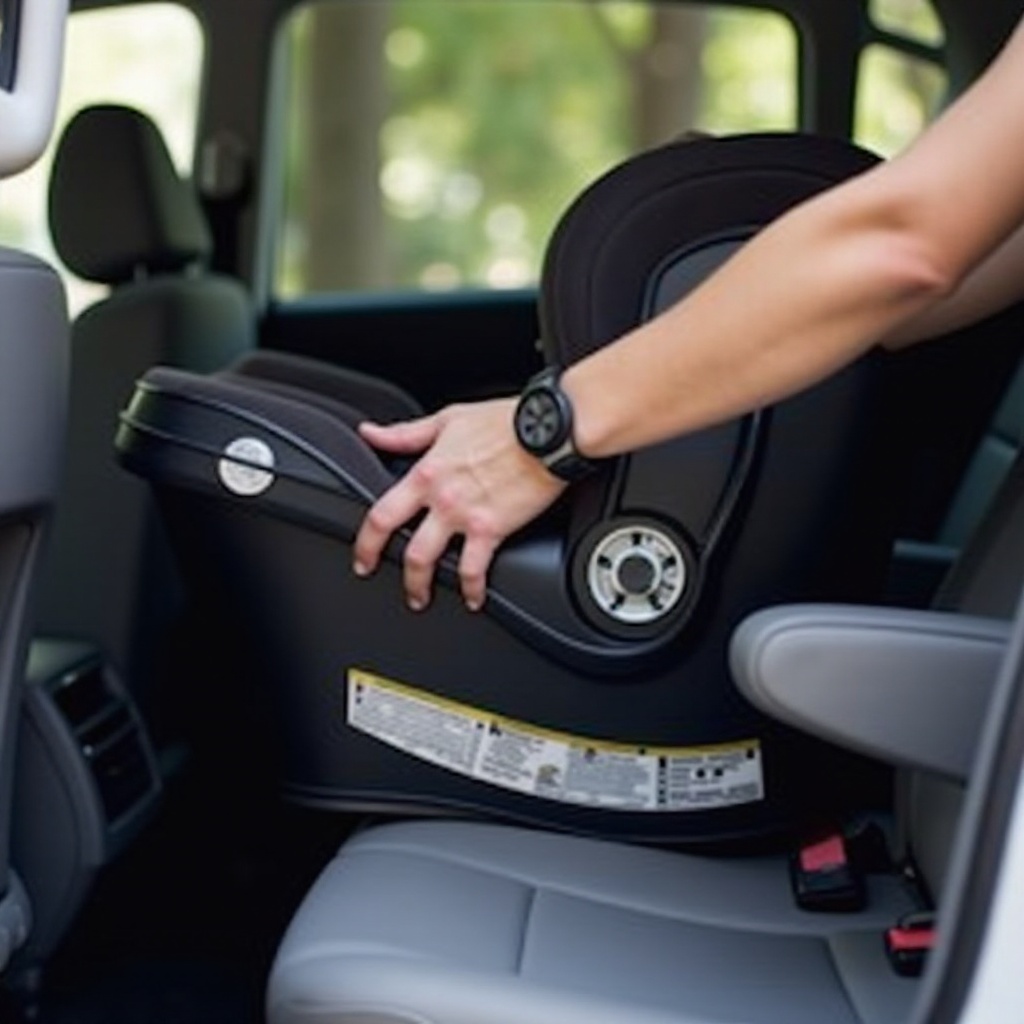
Post-Installation Safety Checks
After installation, it is vital to perform safety checks to ensure everything is secure and correctly done.
Conducting the Inch Test
Push and pull the car seat base at the belt path. There should be little to no movement (no more than an inch) side-to-side or front-to-back. Any significant movement means the base needs tightening.
Ensuring Proper Recline Angles
Many car seat bases come with a recline indicator to show whether the seat is at a correct and safe angle. This angle is crucial for the baby’s head and neck protection. Adjust the recline until the indicator shows the correct positioning.
Verifying All Indicators and Locks
Check all visual indicators and locks on the car seat and base to confirm everything is engaged and in place. This includes double-checking LATCH connections, seat belt paths, and any other locking mechanisms.
Common Mistakes and Troubleshooting
Even careful installation may encounter common errors. Here’s how to avoid and fix them.
Avoiding Loose Installations
Ensure you follow guidelines for tightening the straps and seat belts. A loose car seat base can compromise safety. Always double-check by applying the inch test.
Correcting Angles and Positions
Use the recline indicator to adjust the base angle. If the indicator suggests improper alignment, reposition the base or adjust the settings until it is corrected.
Fixing Common Errors
Refer back to the car seat and vehicle manuals if you encounter issues. Misplaced LATCH connectors or improperly routed seat belts are common errors that can be fixed by closely following the provided instructions.
Conclusion
Securing a car seat base correctly is a crucial step in safeguarding your child during car travel. By following this comprehensive guide, you can ensure that you’ve taken the necessary steps for proper installation and safety checks. Double-checking and troubleshooting common mistakes can further enhance the protection offered by the car seat base.
Frequently Asked Questions
What do I do if my car doesn’t have a LATCH system?
If your car lacks a LATCH system, the seat belt installation method should be used. Ensure the seat belt is properly routed and locked to avoid any movement.
How often should I check the car seat base installation?
It is advisable to check the car seat base installation periodically, at least once a month, and after any major movements or adjustments in the vehicle.
Can I use a car seat base on an airplane?
Most airlines allow car seats, but car seat bases may not always be compatible with airplane seats due to their design. It is best to check with your airline ahead of time and consider using a car seat that can be installed directly on the airplane seat using the seat belt.
0 Comments